And here is the third post, a well posed here with some miniatures:
Nothing says fantasy village like a well does it? While I could just as easily start playing with just the scenery I had, I wanted something to add a little more character, and a well is what I decided to make! I watched plenty of YouTube videos for inspiration, but almost every single one basically said ‘cut out blue foam on your foam cutter’, neither of which I have, so I decided to forge on with what I had on hand!
First of all, a tube to shape the body of my well - this came from a roll of kitchen foil, as it was more slender than most of the tubes in my overflowing box of useful looking bits of rubbish!
Cutting out bases for terrain is so much easier now that I’ve realised that I can just cut them out with scissors!
My daughter was also building along with me, so here is her well WIP
(the triangle has since fallen off - I warned her that those tiny contact points wouldn’t be enough, but she insisted it would be fine)
Then I set about building the frame - I cut down balsa for the posts:
And made a cardboard piece that would support the roof - I didn’t worry about not detailing this piece, as once the roof was on you wouldn’t be able to see it at all.
And then, bricks! As ever, cork was my go to material. I still have a kimchi pot full of randomly sized cork bricks that I cut while watching the Witcher at some point in the distant past (for another project that I realise I haven’t finished or posted about on here, so this might be their first public appearance).
I globbed on PVA, poked bricks into it in a vaguely overlapping pattern, rinse and repeat!
To make the top piece (the cap? Is that the right name for it?) I found an existing cork circle (presumably from making bases at some point in the past) that was just about the perfect size to cover the well:
and then cut a ring of bricks out of it to form a rounded lip:
Next stage is the most important - douse everything in cheap superglue to harden it all up! If you skip this step, prepare to have a bad time if you try and drybrush that lovely cork texture as the corners crumble and reveal the original cork colour…
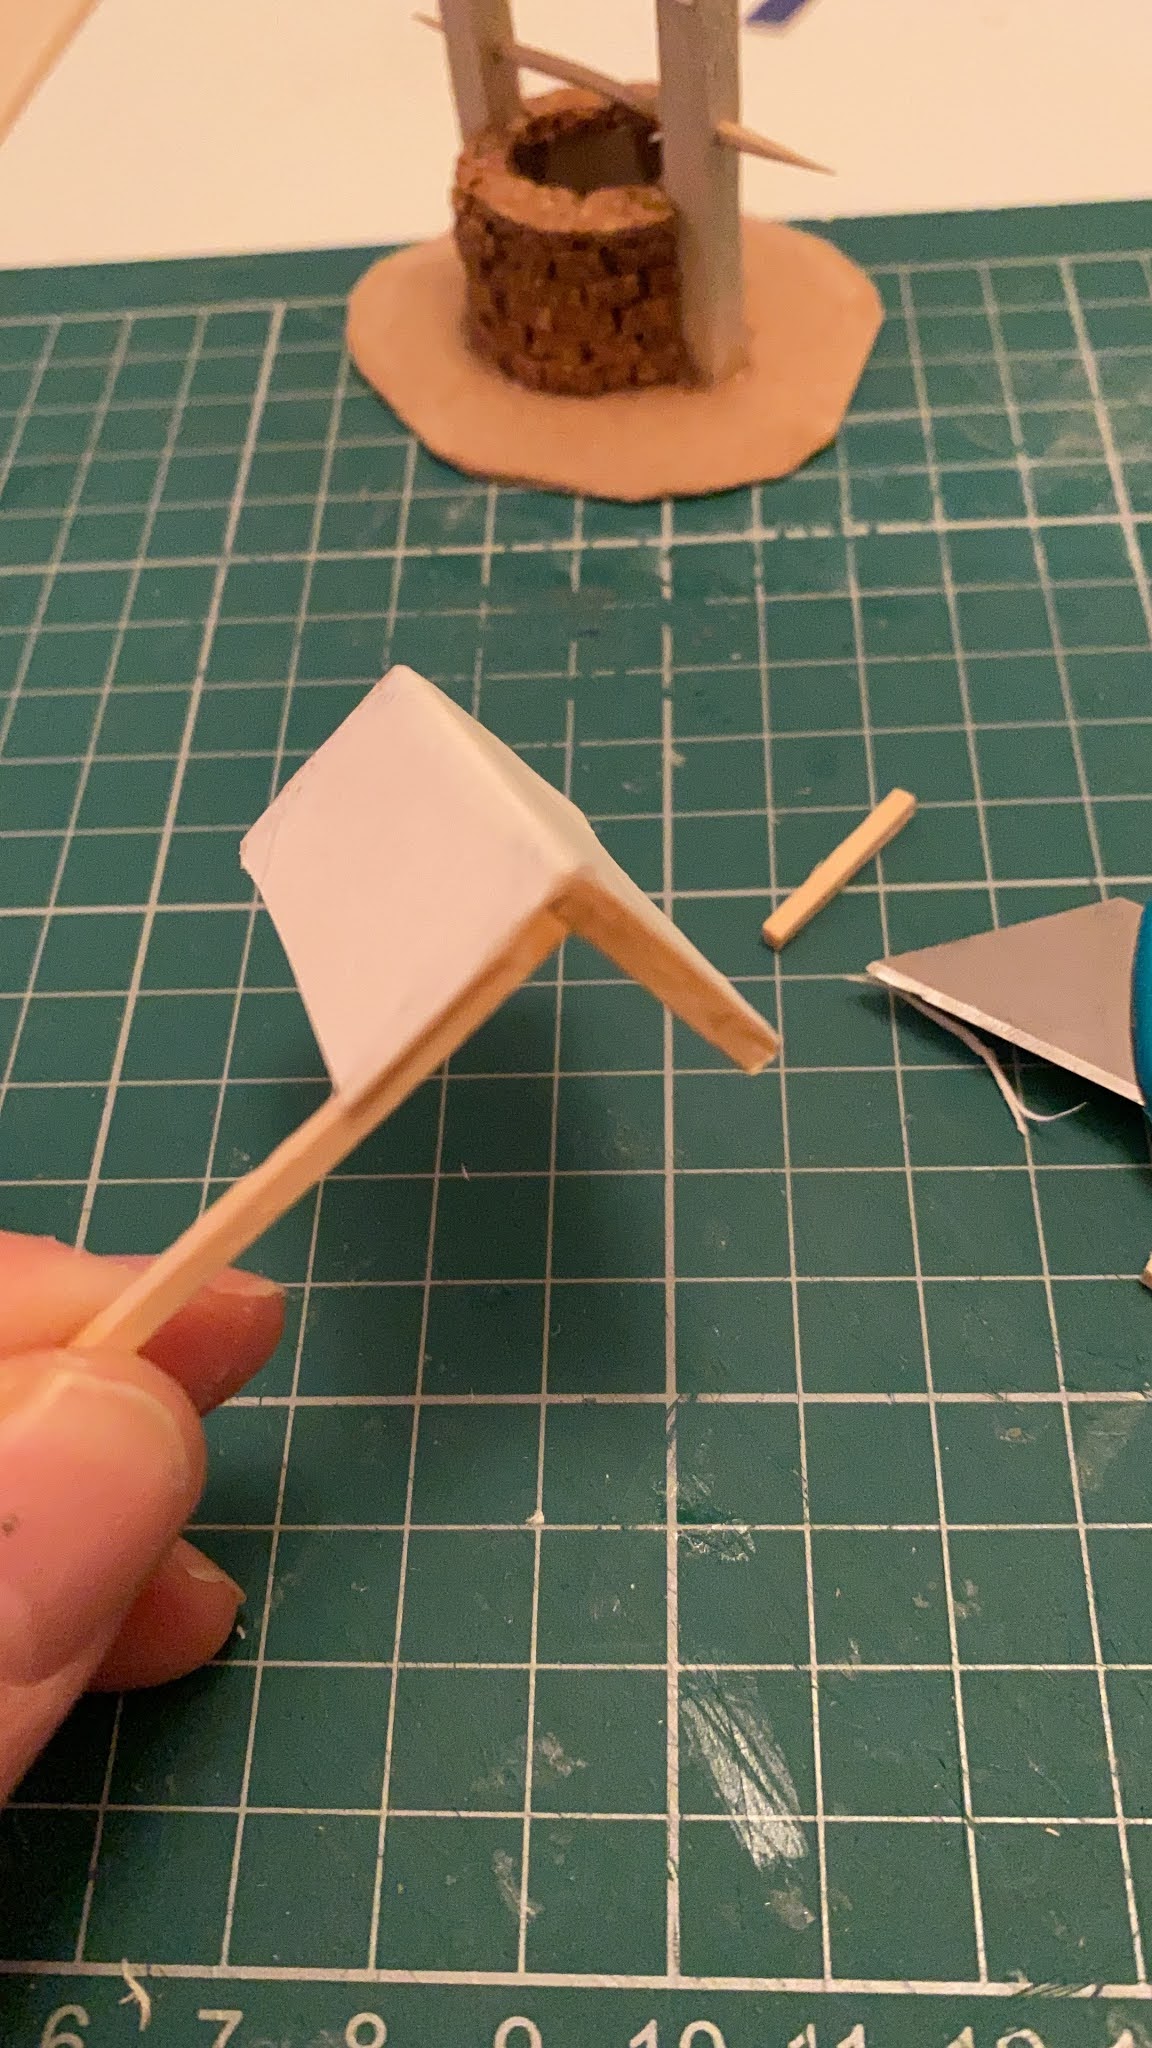
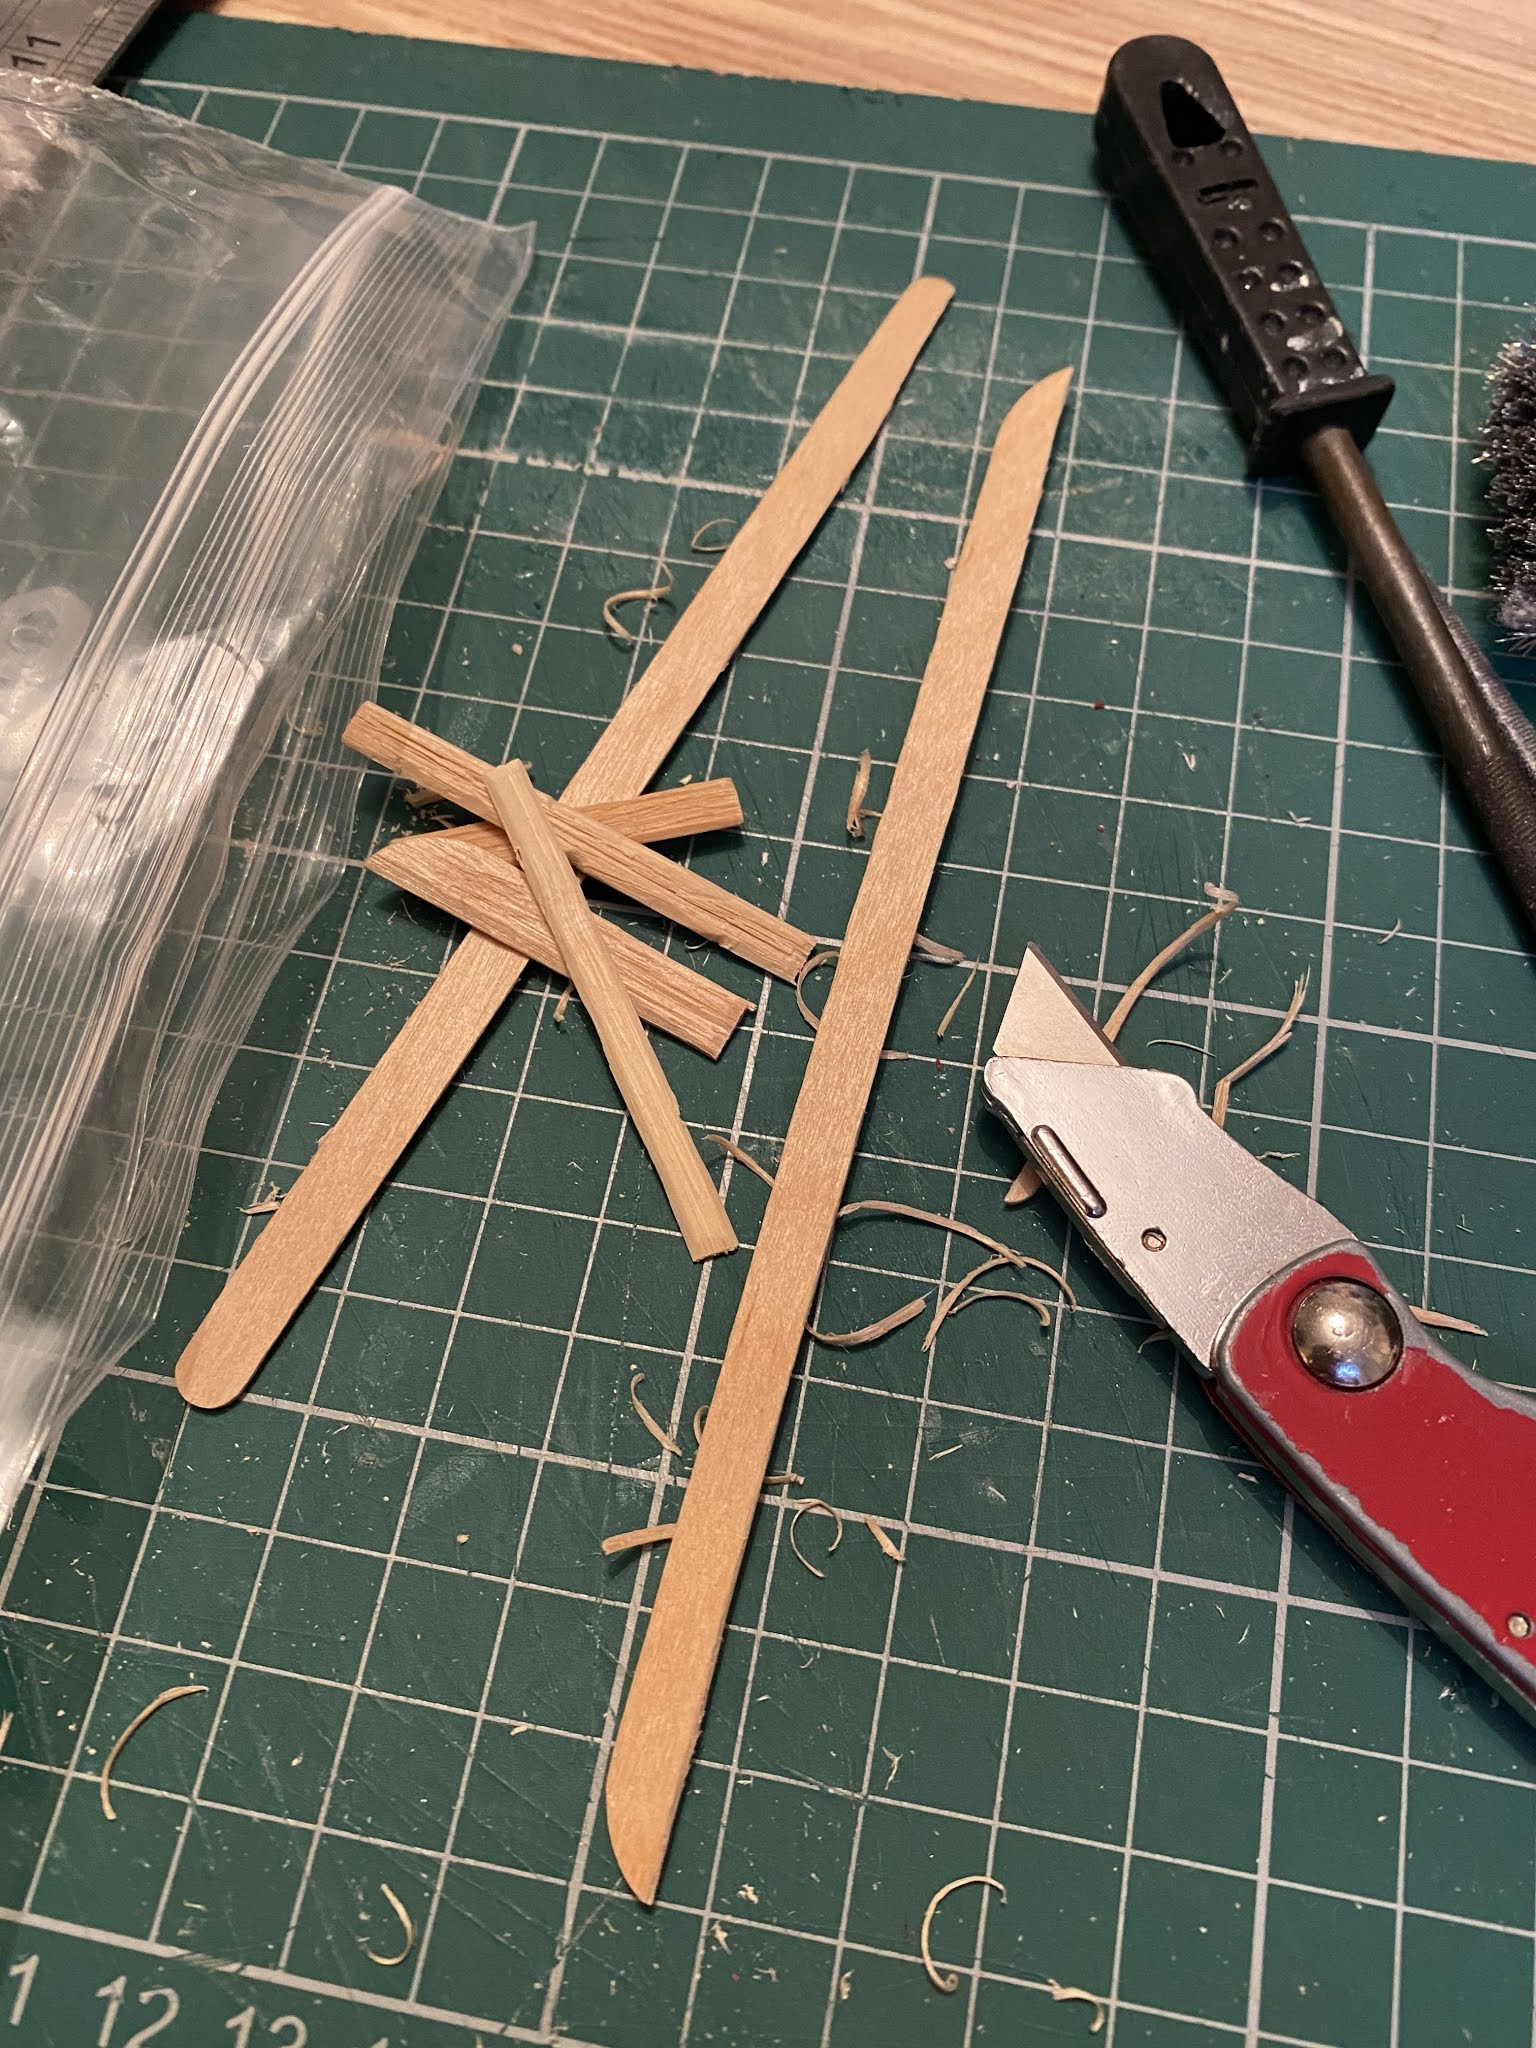
Lastly, I needed to make a roof. I made a simple frame from matchsticks and cereal box card:
And then trimmed the matchsticks down to the desired length:
(You can also see a step that I apparently didn’t document, drilling a hole through the posts to install a cocktail stick bar. A tiny handle was made from a sliver of matchstick and a tiny rod)
For the roof tiles, I forget where exactly I got inspiration for using corrugated card to make overlapping rounded tiles like this, but full credit to whoever it was!
I left the flat bottom layer of card attached to give it some additional strength, but if o were to do it again I’d probably remove it as I’d probably prefer not being able to see it…
I made two separate eaves, glued them onto the card support, and then hid the join with another length of corrugated card.
Then it was just a case of adding a resin bucket (won from a competition on Sippin on Paint Water years ago when it was still the original blog), sanding the base, and dousing everything with watered down PVA!
Then it was on to painting, drybrushing aplenty!
I also wound a thread around the bar that I doused in superglue (this piece is presumably solid enough to survive a hammer blow at this point with the amount of glue it’s been soaked in) for a rope, which I washed with some dark brown tones to try and make it look less like a bit of thread!

I chose blue for the tiles rather than a more standard red mostly because I fancied making it look a little more fantastical, but not so much that I couldn’t use it for a non-fantasy game…
Which brings my Rangers of Shadow Deep checklist to this point:
Mystery additional structureTreesCartWellWoodpile- Crates and barrels
- a playing surface!
- Treasure tokens
The last three things on the list are currently all about half done, so hopefully if I can grab some more painting time at the weekend you’ll be seeing more soon!
Thinking about it, these last few posts definitely let me cross of something else on the Challenge:
Finish something oldFinish a piece of terrainFinish some scatter terrain (3/3)- Prep all of the monkeys in the monkey box
- Paint all of the miniatures in a boxed game
Play a game with fully painted miniatures- Finish a complete skirmish force for a project (at least 16 miniatures, unless it's for a much smaller scale game like Frostgrave)
- Repaint something (either a miniature that I have previously painted, or one that was received painted
- Convert a miniature and show WIP pics
- Finish the last member of the Nextwave team
- Complete the classes project (and when I do that, start a project to have painted miniatures to represent all of the Races in the Players Handbook)
- Add at least 3 entries to the Monstrous Alphabet Project
- Average at least a miniature a week by the end of the year (so, paint 52 miniatures)
- End the year with the Tally in the positive!
I mean, several more of these look very achievable, but I’m not going to tempt fate by pledging to complete anything in particular!
Finally, in Tally related news, I sent off some minis to Tales from Farpoint as I got in touch with him to offer to trade some bits for his Dark Ages Brutal Quest project, which leaves the Tally currently at:
19 vs 11 = +8