Showing posts with label frothers. Show all posts

Sunday, 31 October 2021

Zomtober 2021 week 5: Halloween edition!

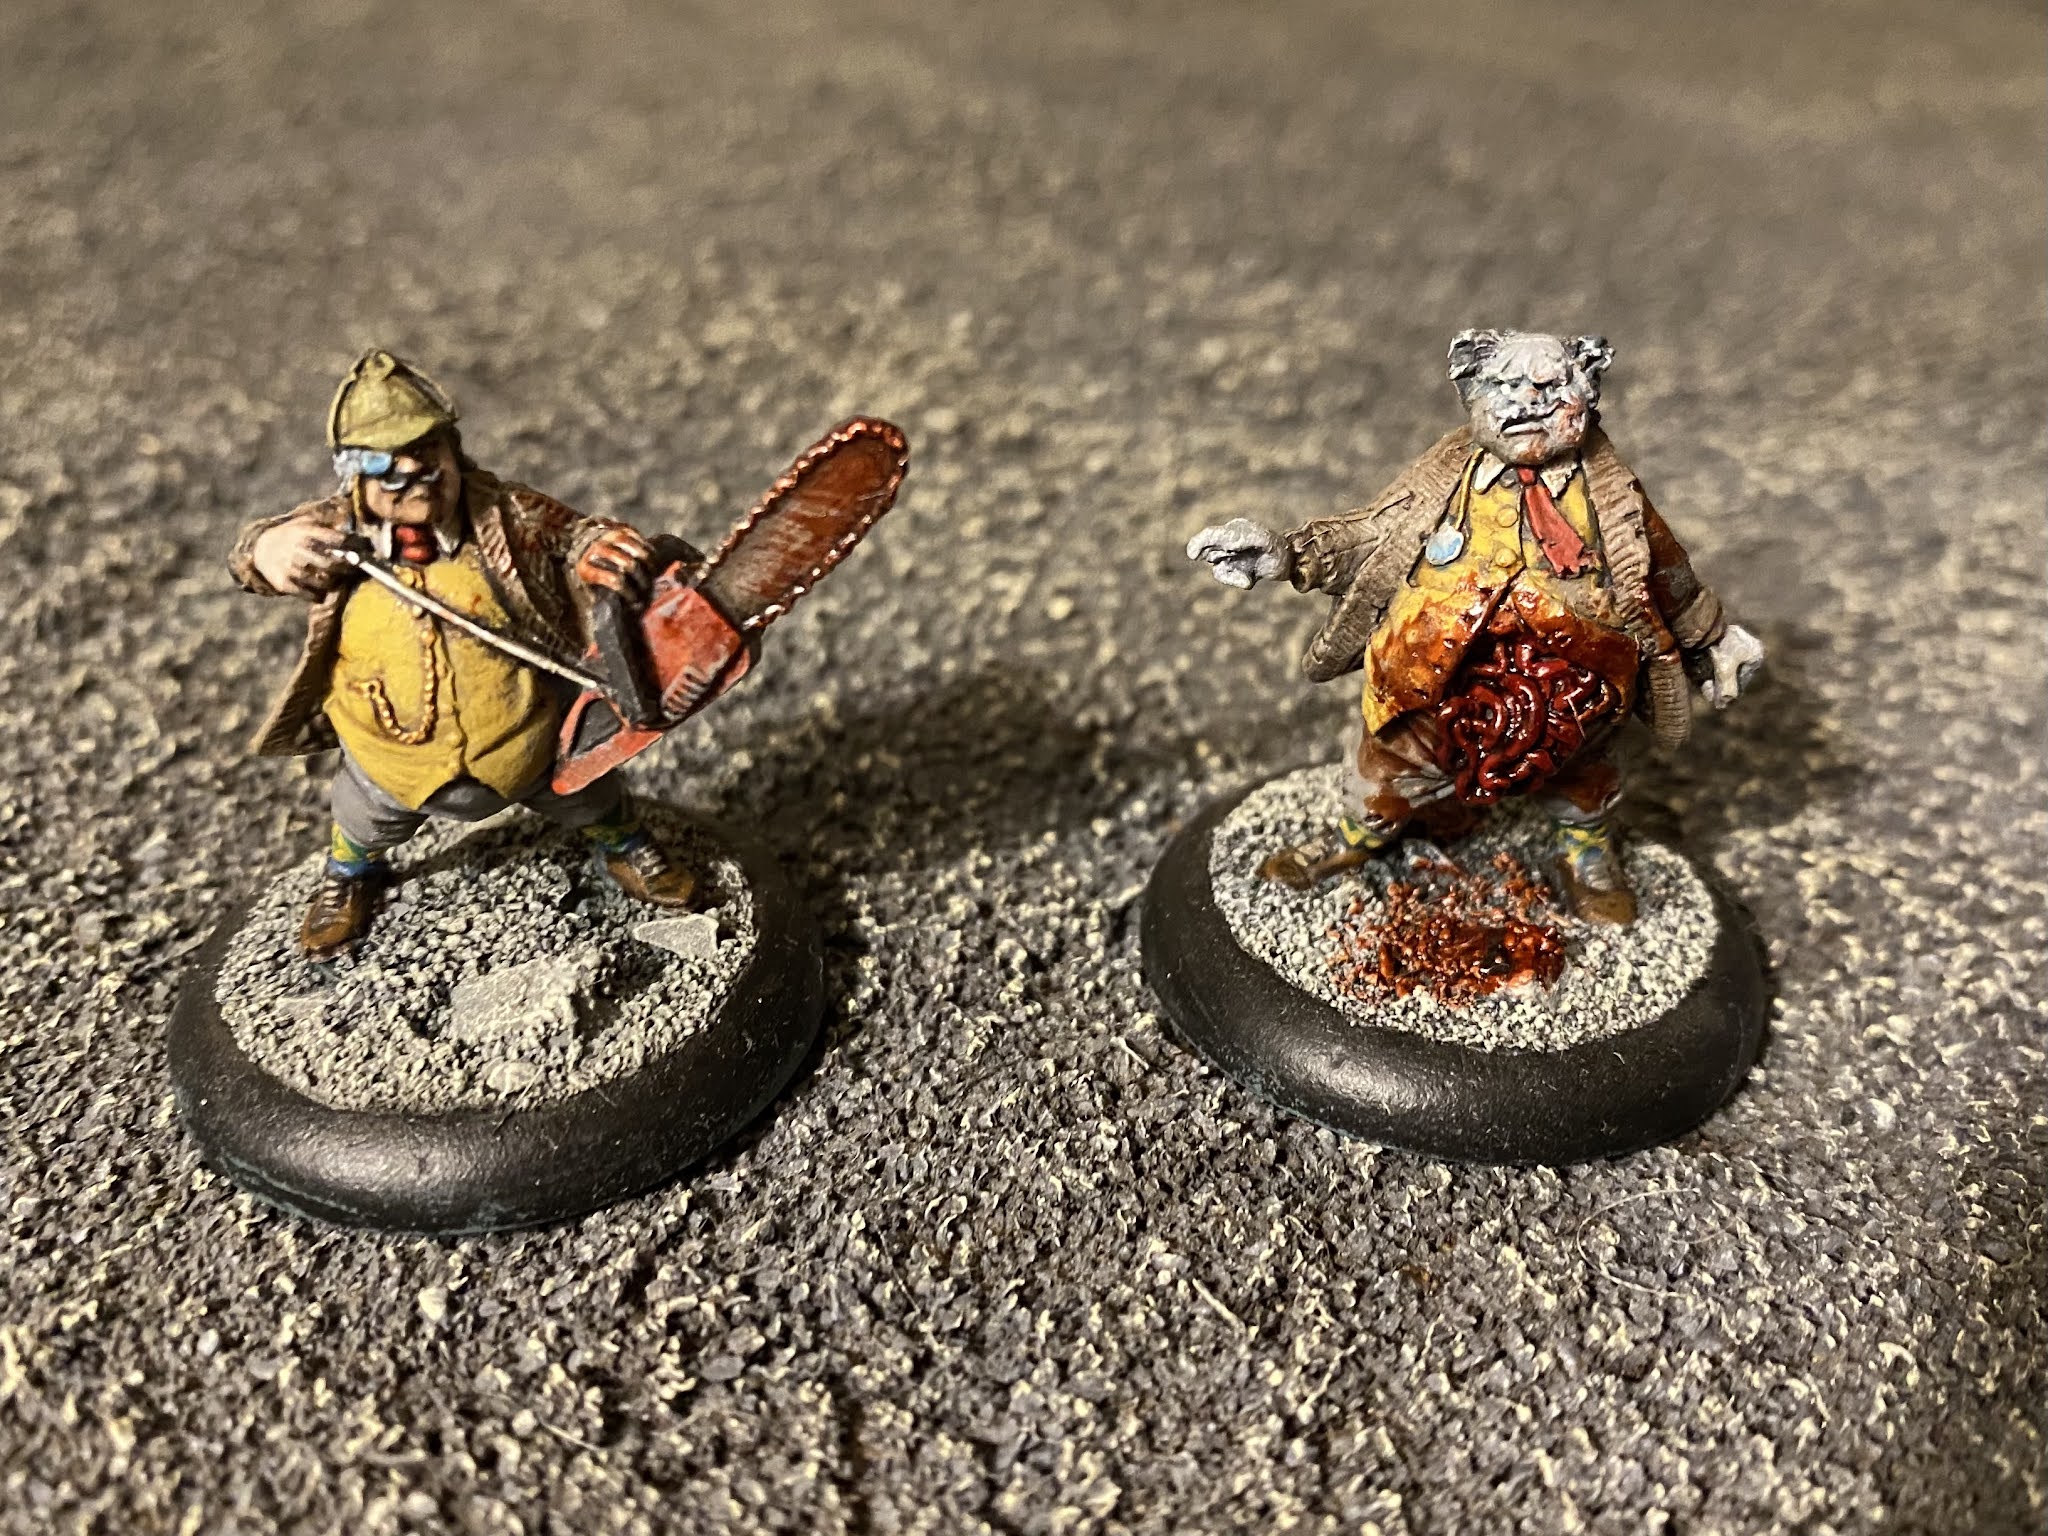
Week five of Zomtober 2021, we have a before and after set of miniatures:


One intrepid chap, out to decimate the zombie hordes with nothing but his ancestral family chainsaw and the intense self-confidence that comes with generations of good breeding. And then the result of that intense self-confidence: he’s got guts, certainly, and now everyone can see them…


You can just about see my attempt at painting tiny argyle socks here, as suggested by my wife who bought me the set of Frothers miniatures they are from 12 years ago according to the integral base on one of the minis: 


I mentioned this to her, and she suggested that if I’m only now getting round to painting miniatures that I got twelve years ago I probably don’t need to buy any more, but that can’t be right surely…

If I were to paint him again, I’d probably strive for greater definition on the face of the zombified version, as I think the grey moustache is too similar to the grey zombie skin, but I’m not sure if I’m feeling brave enough to repaint it for fear of having to redo the whole face!

Painting this pair of chaps brings the Tally to-

but wait there’s more, with a bonus Zomtober offering!

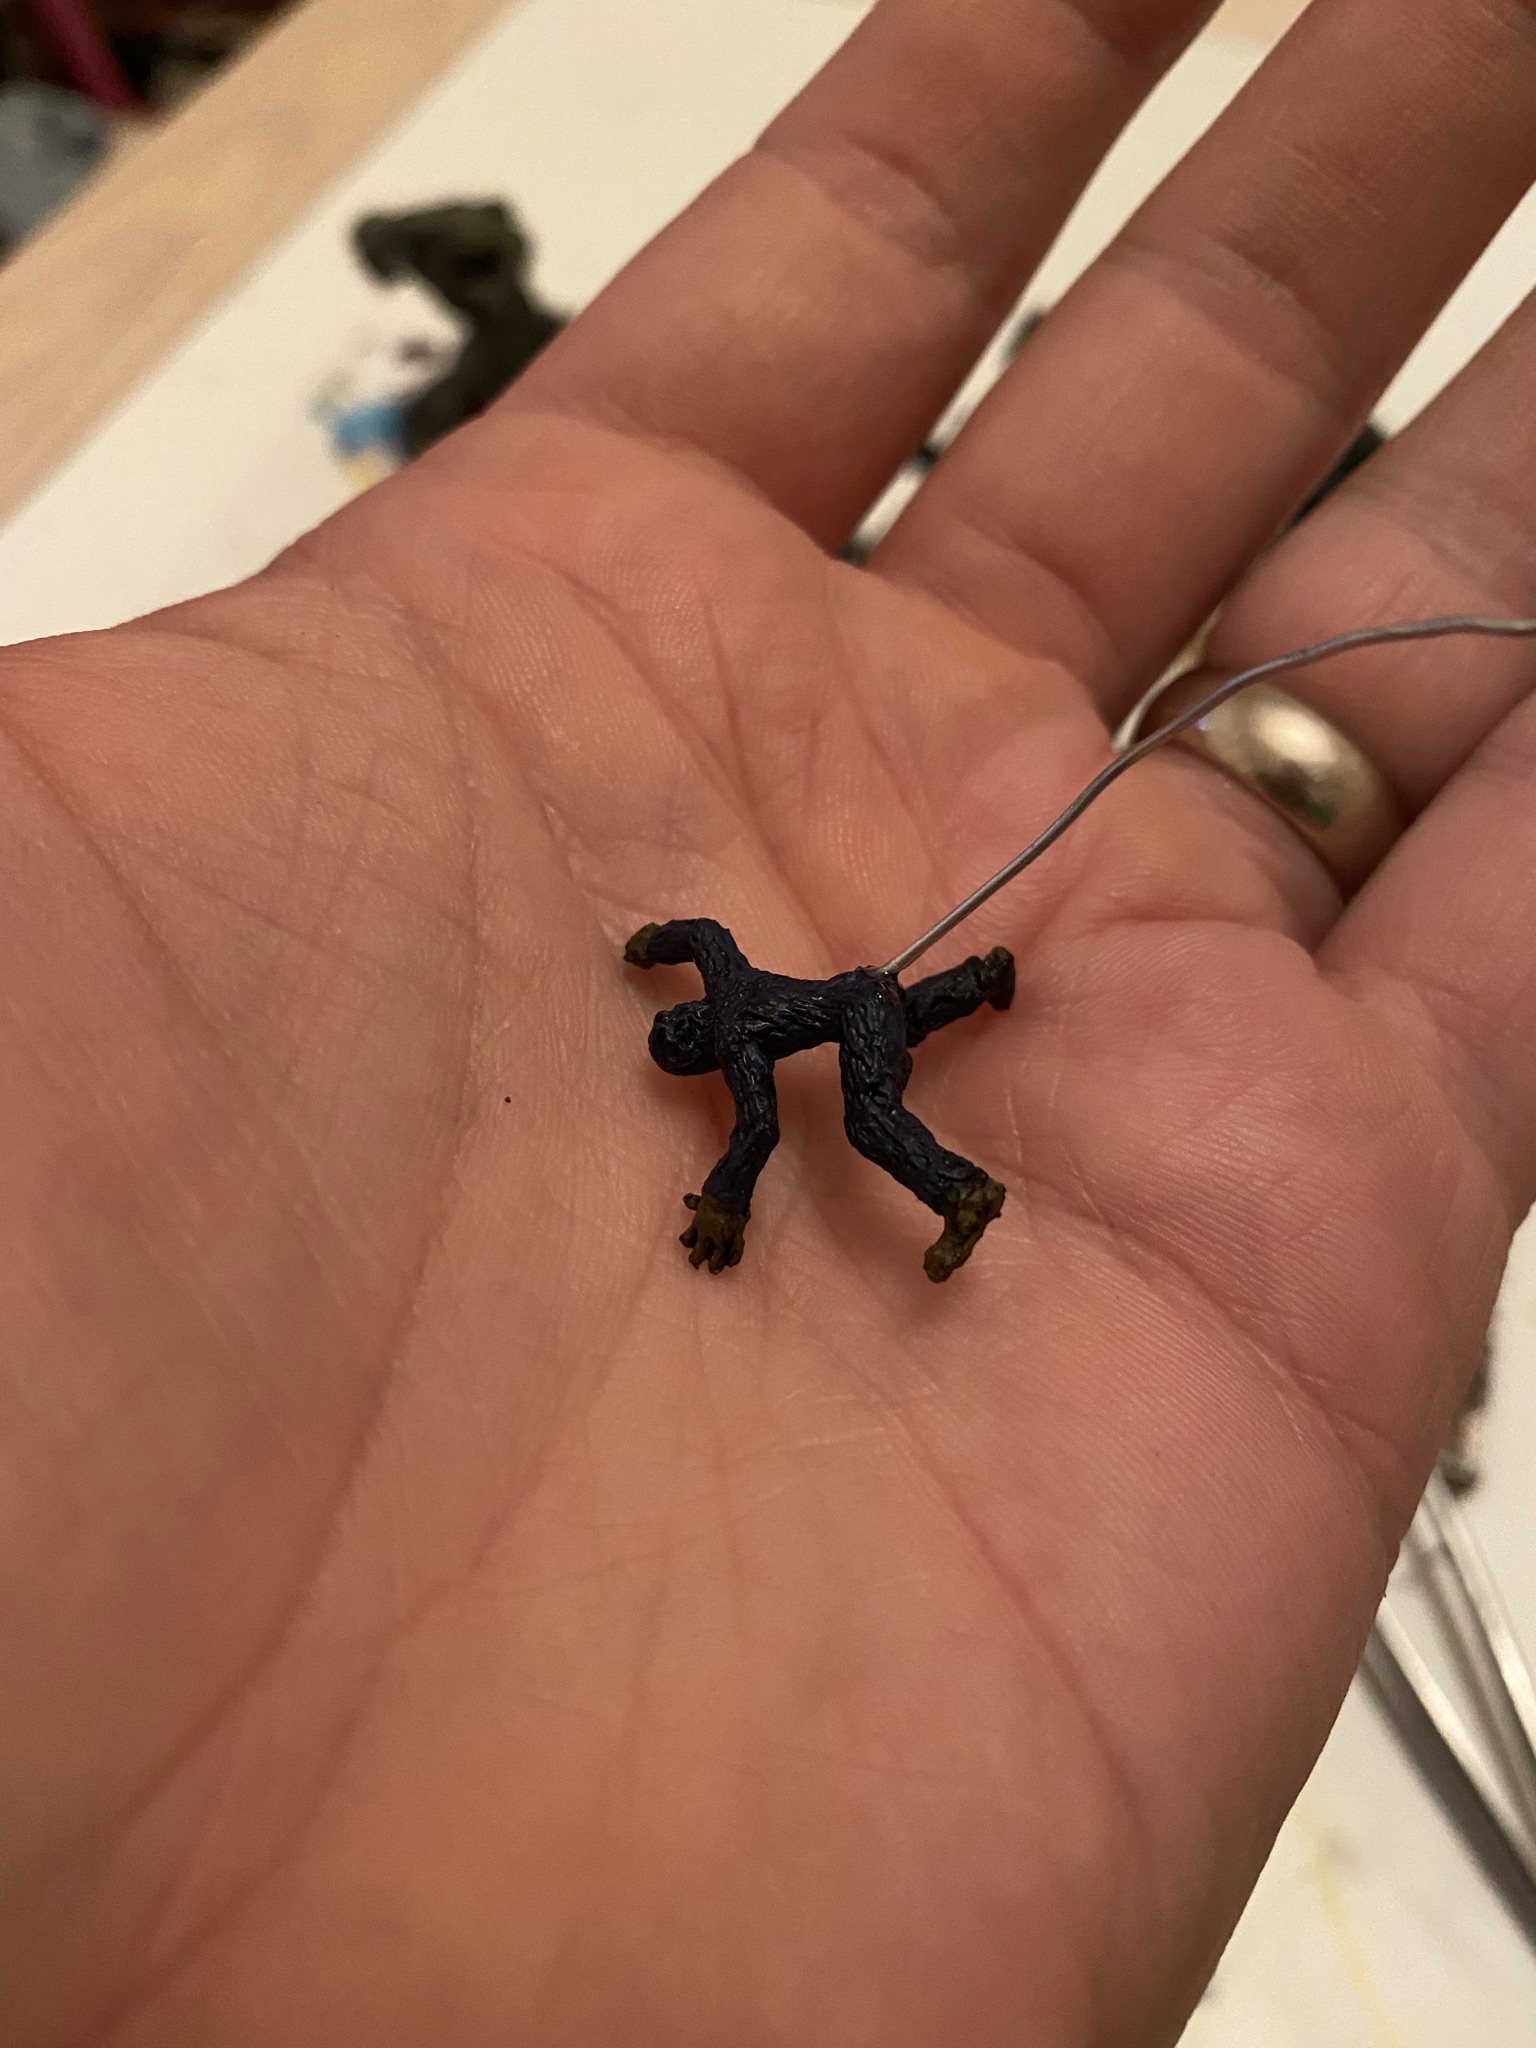
Having been watching Y: the Last Man (and having re-read the comics in preparation for the tv series) I thought what would be more helpful in the zombie apocalypse than a helper monkey? 

So off to the monkey box I scampered, and lo, here is my Ampersand expy:


Look at his little monkey face!


Painted mostly using this first page of Google results as inspiration:


Admittedly, you need to suspend your disbelief somewhat, as he’s approximately four times bigger than a capuchin monkey should be:


But hey, while I didn’t have a capuchin monkey miniature, I did have a Moon Boy mini from a Devil Dinosaur heroclix, that I was able to fashion a tail for using a length of wire and some liquid green stuff:


I was tempted to sculpt him a little green stuff diaper, but decided to leave him au naturel so that he can pull double duty in the long postponed Rise of the Planet of the Apes project (looking back through the blog, it seems there was a two year gap between miniatures for that project, then three years before the next, then four years until this one, so following that pattern I’ll next post one in 2026).

So, all in the Tally now stands at:

31 vs 23 = +8

Sunday, 13 October 2019

Zomtober week 2: this is the news...

Ooh, writing that title just makes me want to go and rewatch The Day Today!

So, week 2 and another post on schedule! Work has been a bit much this week, so I wasn’t sure if I’d have a post ready in time, but what else are Saturday nights in October for if not frantically trying to finish and photograph miniatures? So I present to you the Channel 7 news crew:


These two are from the Frothers Zombie sculpting competition winners set from about a decade ago, so I’ve procrastinated something fierce on getting them done!

I’m having a bit of an off year on painting faces currently, a trend which seems to have continued here. My glasses prescription changed, and I’m painting without my proper light (so that I can hang out near my wife), which might have something to do with it...

As ever, I turned to my wife to select a hair colour, and she chose a silver purple (as one does). She also suggested mixing in some silver paint to give it a slight sheen, but that didn’t really do a lot unfortunately...


In the set of zombie rules that I’ve part-written, I included some rules for these figures - they esssentially act as loot tokens, but if you get into combat they can be lost (or if you’re of a more callous mindset you might consider them ablative armour...)


And now a profile shot, to show off some shaky freehand (although not the only bit on show - as well as the presenters microphone, there’s also a shaky watch face on her watch!).

Another week, another shot in the arm to the Tally:


13 vs 27 = -14

Tuesday, 27 October 2015

Zomtober week 4 - spawn points a plenty

This week's submission (although by this I of course mean last week) is not one, not two, but three zombie spawn points:


Many, many moons ago, I was writing a set of zombie rules, featuring simple, convention suitable rules, and a deck of zombie cards to decide what type spawned. Alas, the laptop that had the half-finished rules on died, but I still have a bunch of ideas rattling around in my head (there were rules for things like survivors accruing noise tokens for doing things like shooting or using a chainsaw), so maybe one day I'll get around to redoing them... One thing from that is zombie spawn points, hence, I made these!

Originally, I'd made and undercoated one a couple of years back which I thought I'd dig out, but I fancied building another to go with it.


Having a dig through some boxes in the garage, I turned up a zombie bursting out of the ground from an old Frothers set, and a gravestone and spade from a Heresy ghoul pack that I apparently overlooked when I made my graveyard a couple of months back. Some torn up cork built up the base after a quick dry-fit, then it was time to crack out the glue.


Superglue just disappeared into the cork, so I busted out the white glue (although I did splash a bit of superglue around the edges to try and toughen it up somewhat).


Once the glue had dried, I dry-fitted the zombie into the hole I'd cut to make it look more like it was actually bursting out of the ground, but the thickness of the cork if used was a little more than I'd originally estimated, which made the figure look a little silly, so I grabbed a coffee stirrer to make an impromptu riser:


Perfect!


I then added the second piece of cork, and pinned the gravestone to the base for stability (as as previously mentioned, the cork pretty much drank superglue)


I then used some pre-mixed filler (that I'd originally picked up from pound land with the intention of making some generic rubble piles with) and smoothed out the steps so it wouldn't look like the grave was on a rocky crag:


My secret weapon in this (and also now in applying glue to bases, rather than using a cut down matchstick or ruining an old brush as I previously had been) was a pack of glue spreaders from the children's stationery aisle in Wilkinsons!


It was at this point that I thought 'hey, surely I could make and paint another spawn point just as easily as the ones I've already got on the go, right?'
I'd had ideas for a couple of different spawn points floating around my head for a while, and knew I had the bits for at least one of them somewhere, but all I needed was another 60mm round GW base... Next time we went into town, we nipped into the shop, only to discover that 60mm rounds are now a web shop exclusive, and don't come in the mixed packs that I'd previously seen in-store.

Plan kiboshed.

.

.

.

Until a day or so later, when I thought to myself 'wait, don't I have an Imperial Guard Heavy Weapon Teams boxed set still complete in box from that time several years ago that I impetuously decided that I was going to build a converted Blood Pact army and went on a spree in GW somewhere' and the answer it turned out was yes, yes I do. Plan back on!


This one was planned to be fairly simple, a zombie climbing out of a sewer. The figure is from Black Cat Bases, bought many, many years ago (before their current troubles, which hopefully seem to be getting better?). A quick application of a file to the tops of the ears to round them turned the ghoul into a perfectly passable zombie.

After cutting out the hole for the miniature to slot into, I originally planned to cut the cork to shape having marked the circumference of the top of the base on it. After cutting out a fraction of it though, I thought it might be better to stick it to the base, and then use that as a guide to trim it like you would the pastry lid of a pie!


Kevin Dallimore's painting guides: excellent reading, and excellent weights for squashing gluey bases while they dry:


Trimmed:


And with sewer miniature in situ:


At this point, my daughter decided that the spawn point in its current state of completion looked rather like the oaty rings that she likes to eat, and tried to do so. We agreed to disagree on this point.


And a little more pre-mixed filler to smooth the transition from cork to miniature:


It was at this point that I realised I was a little unhappy with the miniature - the sculpt around the figure was a little rough and ill-defined, so I had a crack at it with my trusty not-dremel to excise the unwanted material.


Pow, it looks more like he's actually in a hole now!


Admittedly, I actually dremelled right through the metal completely in one spot, but that's nothing that a spot more filler doesn't fix!

With my two bases ready to go, it was on to sanding (thank you trusty glue spreader again!) and the addition of the spade left over from a Heresy ghoul pack (the King I think? He's undercoated somewhere, I should really get round to painting him one of these days...)


I didn't cover the entire base of the sewer  spawn point, as I wanted it to look like Tarmac with some loose debris and rubble, rather than a random manhole in the middle of a gravel field.


You'll also notice in the picture above, I added a couple of extra details - a chunk of cork from one of my baggies of different grades and thicknesses of cork off cut for a larger chunk of rubble, and some metal details - a discarded set of burger and fries cartons, again from Black Cat Bases (expensive for what they are, really, but I quite enjoy them really!)


Then, for the first time in years (as I had a ton of things to undercoat at once), out to the garage with the first episode of the Dungeonpunx podcast to spray! (Ignore the Daily Mail, we bought it back in May for the free Lego and have kept it for spraying or if we were to need to start a fire). It's weird how my undercoating habits seem to move in cycles - spraying for maximum convenience on a number of figures, to getting annoyed at having to touch up the bits that have been missed, to gesso, to getting lazy and applying it too thickly and moving to brush-on primer, and so the wheel continues to spin...

Then I painted them, which I didn't take any step by step pictures of because who wants to see that!


This is the original spawn point I built a few years back - some Biohazard barrels from Fenris spilling their radioactive payload (because in the worlds of imagination, radioactive material gives you cool mutations rather than cancer), as is the case with this poor cat, who has lapped some up only to develop a cthulhuesque head and tiny wings! The cat was a freebie from Black Cat Bases, and the spilled goop is a base of GW Typhus Corrosion, followed by Nurgle's Rot, PVA glue to try and give it some structure, and then even more Nurgle's Rot!


This spawn point got a little moss and grass, and is done. Trivia - the zombie pulling himself got a Sotek Green tongue at my wife's suggestion, after I bought up the colours I'd need to paint Boba Fett's helmet according to a series of Youtube instructional videos should I ever get round to building my Knight Models miniature (but that probably won't be until I've painted the other two bounty hunters, and I am sadly still lacking a WOTC Zuckuss miniature...)


Last but not least, the zombie popping out of a sewer spawn point - dry brushing and washes a go-go! The discarded food items got a colour scheme to indicate that their previous owner might have been loving it, and that was that! I briefly considered adding a splash of gore to this figure, to try and hide the fact that it's face looked a bit ghoulish rather than zombie-like, but decided against it as I liked the way the teeth had come out too much!

Finishing these (yes, I'm counting them each as a finished figure!) brings the tally to:

33 vs 130 = -97

So, with just one week left of Zomtober (not that I've hit any deadlines so far, and everyone else seems to be stopping at week 4), I've got a couple of ideas for a finisher - If I can pull it off in time, I could have a biggie (although I also have a backup plan just in case!)


Friday, 15 March 2013

Judge Minty, Hobbits, and a Game of Thrones...

So, some goodies arrived for me:


The latest Frothers charity miniature, Judge Minty (complete with signed picture of Edmund Dehn), which is absolutely beautiful (as if you'd expect anything else from Kev White), and a couple of hobbits picked up on eBay. The one on the left will probably get a weapon swap and his shield sanded flat and be used for dungeons & dragons, and the little chap on the right  was bought to use for a Tyrion Lannister conversion.

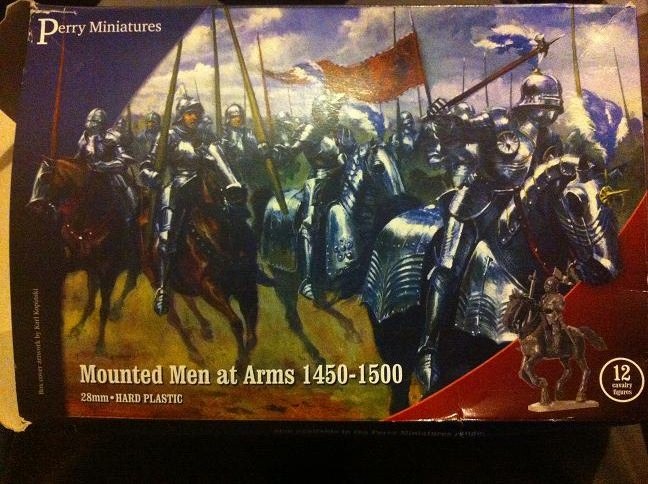
Yeah, so I guess I started a new project. I gave the Game of Thrones TV series a second chance (the first time round, I watched five episodes back to back and got bored), this time watching it with my young lady, and got suckered in. So much so that I ended my Song of Ice and Fire embargo and bought the rest of the books (I read the first one a while back, and decreed that I wouldn't read the rest straight away, lest I read nothing else but them for the following months. That and the fact that it'll probably be a decade before the series gets finished...). I spent a while looking at various medieval miniature ranges, planning hypothetical conversions... Until I mentioned the project to John, who disappeared into the loft and dug me out some Perry mounted Men at Arms that he'd bought at a previous Salute and never used:


Because he's awesome like that. So, cool toys to cut up, but a hit to the tally:

8 vs 22 = -14 back into the negatives, for now...

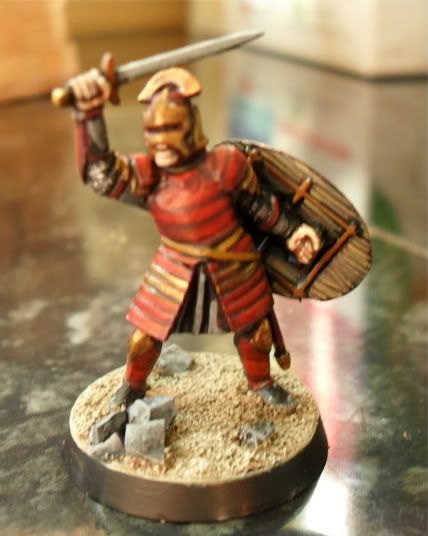
However, using this as inspiration:

(awesome conversion by Mr.J over on the LAF)

It shouldn't belong before I'm back into the positives... (he says, having a strange sense of deja vu knowing there's a package on it's way from eBay...)

Speaking of eBay, I'm selling things to fund my upcoming wedding and offset the imbalance created by starting a new project - mostly manga currently, but the shinies will be on later (well, there's a BPRD heroclix set and a box of Dreamblade miniatures up now, if that takes your fancy): my eBay sales link

Monday, 30 July 2012

Skull Rock!

As you may or may not recall, a while back I came into possession of a plastic skull, and over the past week or so set about turning it into an 80's-Chaos-esque piece of terrain that would match my recently built generic rocky terrain:


Unfortunately I don't have any fantasy Chaos to stand on it to display it to it's fullest potential (although it's only a matter of time, I've been reading pdfs of the old relams of Chaos books, and rolled up a Path to Glory warband since I've got a couple of miniatures lurking in the bits box I could use), so you'll have to make do with some old converted Obliterators:


Right, on to how I made this -


First of all, I made a cup of tea, essential for any sort of terrain-building project. I also cut out a suitable sized base from thick card, and started arranging the skull and cork bark (£1.39 from a local art shop - my first time using this, I've seen it look awesome in other peoples' builds, but it largely just looks like bark for me.. hohum...)

I decided that I wanted to install a floor inside the skull, and that I wanted it to be slightly recessed. To facilitate this, those locating lugs had to go:


Attacking them with clippers got rid of a large part of the material, and my 'not-dremel' smoothed out the rest. Well, I say smoothed out, the plastic the skull was made from was so soft that even at low speeds the 'not-dremel' seemed to largely melt it's way through, but a quick scrape with a sharp knife was enough to tidy it up after. Then it was time to build the floor:


Crunched up newspaper gives a base to stick the floor on...


I didn't fancy trying to cut out a precise match of the shape of the interior of the skull, so I started with a rough piece of card that mostly fit...


And stuck it in place, then blended it in to the edges of the skull using ready-mixed filler (poundland).


Some pieces of thin cork were then cut to fill the remaining gaps, which were glued into place and then once again smoothed out with copious applications of filler. Rather than using specialised spreading tools, I largely used triangular offcuts of card to smooth out my newly installed floor. Also, truth be told, it took several passes with the filler to get the floor to a roughly flat enough state that I was happy with (it didn't have to be showroom flat, as I' be texturing the piece eventually anyway).

Once that was done, it was time to start thinking about the stairs that I wanted to go up the side of the piece. So, I made a highly scientific template of the area that the stairs would cover:


This template got scribbled all over (as plans... developed midway through the build), and was used to cut out all the steps used in the piece. Although I spent a lot of time calculating how many steps would be needed (handily the thin cork I was using is 1/8" thick, making calculations very easy) I will admit that several lengths of stair were done on the fly, going with what felt right, until the very end where everything needed to connect correctly!

For example, the first length of stairs was built by cutting out a bunch of steps and gluing them together (using poundland's finest 'Hard as Nails'), not being overly worried about how much space they were taking up:


At this point I wasn't overly worried by gaps, as I planned to go back over everything once the majority of construction was completed and attack it with filler and debris to busy it up a little. The main problem with the first length of stairs though was that it was a little wobbly, being that each step was a thin bit of cork, and balanced on a pillar when I wasn't having to hold it together while it dried:


(Apologies for the dodgy arty angle on that last pic). In order to make sure that the piece was playable, I decided that rather than my original plan of uninterrupted steps up the entirety of the piece, there should be a couple of landings where miniatures could (safely) be placed. Also, at this point I decided that rather than continuing to build the staircase as I had, one wobbly step at a time, I should build a couple of flights of steps as self-contained assemblies, as that would be a lot more solid! And so I built these:


A set of steps to go immediately after the first landing;


And a set of steps to connect to the final landing - note the curve, the template was a lifesaver for making sure everything went together! Also, in between making these two sets of steps, I also made the final landing and the landings that would connect the two sets of staircases, but I didn't take any pictures of those steps so you'll just have to take my word for it. The cork bark that would make up the rear cliff-face was cut to size and glued in place, as well as having a notch cut out of it so that the final set of steps would be able to slot in place.


But here's how it all looks stuck together...


Note the support columns that will eventually be hidden by the cliff-face, and don't worry, that random stack of cork providing additional support is only temporary!


Then it was really just a case of filling in the gaps with a cork cliff-face...


Layer by layer, with filler and Hard as Nails to smoosh everything together, filling any other gaps as I came across them...


Working all the way round...


Putting in a little look-out post, and covering a gap...


Until it looks like this! At this point, my housemate pointed out that I should have put lights into the eyes. Alas, having spent a couple of evenings elbow deep in various fillers, it was too late for that though...

Then, before beginning to texturise the piece, comes my usual advice:


Stick a record on and away you go! The textured paint was made the usual way, although after a first application I found that it wasn't sticky enough to properly adhere to the plastic skull, so I added some filler (as the type I was using is the very rubbery type, rather than the type that is more like plaster) and then it seemed to cover fine:


Next, comes a rather silly mistake:


First thing in the morning, and keen to make progress, I rush outside to spray it grey. Halfway through spraying, as I'm looking at the piece something keeps bugging me. And then I realise that in my keenness to crack on, I've skipped the step where I add rubble and whatnot to busy the piece up (and secretly, to cover any rough looking spots). Bugger. Thinking 'to hell with it', I finish spraying, and once that's dried do the step I missed anyway:


Not that it matters in the grand scheme of things what order I did it in, as I had to go over the piece with some Adeptus Battlegrey anyway to cover any patches that the spray missed, so the patches of texture were painted at this stage too.


Then, as per my other terrain pieces, it got a good splashing of Vallejo Smoke, before being drybrushed with Codex Grey, Fortress Grey and Bleached Bone:


See what i mean about the cork bark looking like bark? Oh well, it's interestingly textured at least...


Et voila, the finished piece looks like this:


Bammo. Something every self-respecting child of the 80's Champion of Chaos would be happy to fight over. Although my lady love did suggest building a barbecue and a hammock to go on top, to make it some sort of Chaos Summer Holiday home...

In other news, the tally recently took a hit as I received this little beauty:


This year's Frothers charity mini, a beautiful mini for a donation to a good cause. Also, it's made of Trollcast, Trollforged's new megascience miniatures material - when I saw that it came in just a baggie in padded envelope, I was prepared for the worst, but it was absolutely fine! If you haven't already, have a watch of the Trollforged Toughness video over on their site - based on just this single example that I own, I'm starting to think that all miniatures should be made out of this stuff (it's light, it's tough, and as far as I can see the mould-lines are almost non-existant!)

Which brings the tally to:

58 vs 90 = -32