(I'm going to regret having used this blog post title already if I ever get round to making an Arya Stark, but everything else I thought of was absolutely terrible...)
Well, onto the point of this post - I finished this beauty this week:
A promo resin from Westfalia Miniatures. When I got her last Salute, I vowed to myself that I would get her painted up straight away, rather than taking most of a year like the previous one, but here we are having taken a fortnight longer than that. I started off strong, getting her based and undercoated, and painted her skin, then stalled. Fast forward several months of me looking at her in my painting queue sadly, telling myself I couldn't do her beautiful sculpt justice.
But then, Salute loomed on the horizon, and I found myself gazing into the painting queue once more after finishing the garages and plucked out a few half-finished gems that caught my eye and managed to get her finished up in less than a week.
She's got a real Anna Henrietta from The Witcher vibe to her that I really enjoy:
I still think that my painting skills aren't up to the job of really doing justice to this sculpt, but it was such a pleasure to paint that I'm glad I plunged ahead!
My wife has recently ordered herself a mini photo booth to take pictures for her business, so even if the painting doesn't get any better, the photography may well do soon...
She isn't the only movement on the Tally though, as my Necromunda pre-order arrived:
Mad Donna and Kal Jericho, that I've coveted for years, and so jumped at the chance when they were made available again, despite my vow to save all my pennies for Salute.
Tally:
8 vs 3 = +5
In other news, whilst digging through my collection of half-finished projects I pulled out my Sisters of Battle miniatures and thought that I should probably get around to finishing them, and the next day they announced that they were coming back in plastic, so I may in fact be magic.
In other other news, I've listed some spare bits and bobs on eBay to make some Salute spending money, so if you want to buy some you can do so here to further perpetuate the cycle of me acquiring toys.
Wednesday, 28 March 2018
Sunday, 18 March 2018
Meet me round the back of the garages...
Attention-grabbing image to lure in that ever-dwindling blog readership from whatever dashboard they use to consume such things:
So, as mentioned last post, I've managed to get the rough framework of a set of zombie rules that I've had bouncing around in my head for a few years down on paper, which got me to thinking - what's a piece of terrain that it makes sense for survivors to be able to scavenge in? You have to suspend your disbelief somewhat when your survivor finds a bundle of supplies and weapons in a comic shop, but a set of grotty storage garages (you know the kind, you used to smoke behind them as a wayward teen) make much more sense...
So, like all good model-makers, I started out with a rough plan, that was part scale drawing, part mood board:
I decided to make a run of three connected garages, figuring that it would make a nicely sized piece of terrain without taking up too much space, and decided to give it a sloped roof to make it look less like a plain box. Then, out came my trusty cork sheet, and after some careful measuring I had all four sides of my garages:
I then cut out the doors, so that I could install tiny scale roller shutters made of corrugated card:
Although I'd originally planned on attaching each 'door' separately, I decided that a piece of card attached along the length of the wall would give a good base for attaching the corrugated card to, as well as providing some additional support to the wall itself. In hindsight, it would perhaps have been better to attach it before cutting out the gaps, as the spars of cork seemed to want to bend away when I was attaching them, but with some careful nudging everything was flush and square again, and being pressed flat under the nearest thing my wife could pass me as both of my hands were occupied nudging things back into position:
Et voila, the frontpiece:
To make the doors, I simply used the cut out pieces as a template to cut corrugated card scavenged from takeaway coffee cup sleeves (which I was able to find surprisingly few of in my store of supplies, despite the fact that it feels like I've been hoarding them for years for just such an occasion as this):
And then into the gaps they went:
Then it was just a case of putting the box together - using some of the offcut pieces of cork from making the doors, I cut them in half, then half again, and then halved them corner to corner to make some 90 degree corner supports:
I also glued a few together to make some supports to help keep the walls straight (as cork can get a little bit bendy if the piece is too long):
I felt that it could do with something a little extra at this point, so decided to stipple some filler over the walls to give a little bit of texture and disguise the joins:
Then comes the roof - despite being aware of the valuable advice 'measure twice, cut once' I somehow managed to place the cut in the corrugated card I was using one rib too short, resulting in this:
In my defence, I measured twice, here's the mark in the right place, it just seems that in turning the piece over twice whilst deciding whether it would be better to cut it from one side or the other I seemed to slip a rib over...
Cue measuring and cutting a whole new roof piece, with the old one getting thrown into the scraps box for recycling in another project...
I briefly considered making the roof be a drop in piece, and attached the corrugated card to a thin card base, but when it started to warp (the corrugated card comes as a roll, and the thin card wasn't too happy at being glued) I decided to make it a sealed piece, and so glued it on and left it to press under, again, whatever was within arms reach - in this case, a fuzzy felt book, a Walking Dead scenery booster from Mantic, and some sort of rock salt candle holder, to create a pile that was heavy enough to keep the roof flattened, but not so heavy that it would crush the whole construction!
After a couple of days, I got bored of waiting for the snow to go away, so spray undercoated like this:
It was very cold. The snow melted the next day.
I borrowed some white acrylic from my daughter's art supplies to put a rough basecoat on the walls - it did not cover very well, but given that I was aiming for a pretty grotty, semi-abandoned look, I was pretty happy with that:
Well, until I applied a dirty wash around the bottom and flecks of white paint started coming off on my brush, but I was able to cover that up with some careful mud stippling.
Plenty of drybrushing and careful application of spot washes later, the roof got some very rusty weathering, and I applied some flock growth and a little static grass growing out from under the roof to make them look a little unloved, and voila, done!
So, as mentioned last post, I've managed to get the rough framework of a set of zombie rules that I've had bouncing around in my head for a few years down on paper, which got me to thinking - what's a piece of terrain that it makes sense for survivors to be able to scavenge in? You have to suspend your disbelief somewhat when your survivor finds a bundle of supplies and weapons in a comic shop, but a set of grotty storage garages (you know the kind, you used to smoke behind them as a wayward teen) make much more sense...
So, like all good model-makers, I started out with a rough plan, that was part scale drawing, part mood board:
I decided to make a run of three connected garages, figuring that it would make a nicely sized piece of terrain without taking up too much space, and decided to give it a sloped roof to make it look less like a plain box. Then, out came my trusty cork sheet, and after some careful measuring I had all four sides of my garages:
I then cut out the doors, so that I could install tiny scale roller shutters made of corrugated card:
Although I'd originally planned on attaching each 'door' separately, I decided that a piece of card attached along the length of the wall would give a good base for attaching the corrugated card to, as well as providing some additional support to the wall itself. In hindsight, it would perhaps have been better to attach it before cutting out the gaps, as the spars of cork seemed to want to bend away when I was attaching them, but with some careful nudging everything was flush and square again, and being pressed flat under the nearest thing my wife could pass me as both of my hands were occupied nudging things back into position:
Et voila, the frontpiece:
To make the doors, I simply used the cut out pieces as a template to cut corrugated card scavenged from takeaway coffee cup sleeves (which I was able to find surprisingly few of in my store of supplies, despite the fact that it feels like I've been hoarding them for years for just such an occasion as this):
And then into the gaps they went:
Then it was just a case of putting the box together - using some of the offcut pieces of cork from making the doors, I cut them in half, then half again, and then halved them corner to corner to make some 90 degree corner supports:
I also glued a few together to make some supports to help keep the walls straight (as cork can get a little bit bendy if the piece is too long):
I felt that it could do with something a little extra at this point, so decided to stipple some filler over the walls to give a little bit of texture and disguise the joins:
Then comes the roof - despite being aware of the valuable advice 'measure twice, cut once' I somehow managed to place the cut in the corrugated card I was using one rib too short, resulting in this:
In my defence, I measured twice, here's the mark in the right place, it just seems that in turning the piece over twice whilst deciding whether it would be better to cut it from one side or the other I seemed to slip a rib over...
Cue measuring and cutting a whole new roof piece, with the old one getting thrown into the scraps box for recycling in another project...
I briefly considered making the roof be a drop in piece, and attached the corrugated card to a thin card base, but when it started to warp (the corrugated card comes as a roll, and the thin card wasn't too happy at being glued) I decided to make it a sealed piece, and so glued it on and left it to press under, again, whatever was within arms reach - in this case, a fuzzy felt book, a Walking Dead scenery booster from Mantic, and some sort of rock salt candle holder, to create a pile that was heavy enough to keep the roof flattened, but not so heavy that it would crush the whole construction!
After a couple of days, I got bored of waiting for the snow to go away, so spray undercoated like this:
It was very cold. The snow melted the next day.
I borrowed some white acrylic from my daughter's art supplies to put a rough basecoat on the walls - it did not cover very well, but given that I was aiming for a pretty grotty, semi-abandoned look, I was pretty happy with that:
Well, until I applied a dirty wash around the bottom and flecks of white paint started coming off on my brush, but I was able to cover that up with some careful mud stippling.
Plenty of drybrushing and careful application of spot washes later, the roof got some very rusty weathering, and I applied some flock growth and a little static grass growing out from under the roof to make them look a little unloved, and voila, done!
(I nipped home at lunchtime during the week to take these pictures in the garden with natural light).
I don't know what I'm going to do next - I've been weirdly unmotivated to paint miniatures recently, although with Salute looming ever closer I should probably try and build a little more of a buffer into the Tally...
Monday, 19 February 2018
Lurking in the shadows...
...to suck out your brains - finished painting my converted Illithid rogue (that I finished converting from a Hasslefree figure way back in December of 2014):
Lord knows when I'll meed a Mind Flayer in studded armour, but when that day does come I will be ready.
His flesh was one of those times when you finish painting happy with what you've done, then come back to it the next time and decide it needs more done to it over and over, hence quite a stark difference between the darkest shade in the deepest recesses and the lightest areas. His weaponry was painted in non-standard colours after being inspired by a flick through the 4th Edition Monster Manual (hence the aqua/teal hilt to the purple-sheened blade, and grey rather than colourful gems on the scabbard of his secondary weapon).
I also had a play posing him with some of my wife's plants (more and more of which seem to appear in the house each week):
As well as playing with the settings and applying filters to make moody pictures like this:
Tally:
7 vs 0 = +7
In other news, a family emergency last week led to us heading down to Portsmouth a week earlier then originally planned - horrible times, but one upside to spending four hours each way on trains was that I cracked on and managed to mostly get the set of zombie rules that I've had knocking around half-formed in my head longer than I've had this blog that have been previously alluded to on paper:
Don't worry about trying to decipher my scrawl about rules for fighting across barricades, the picture is just illustrative to break up blocks of text ;)
It's in no particular order currently, fairly free-form as I remembered / thought of things, but I think I've got a fairly workable framework once I rearrange it and chisel out the heart. I have a vague thought to run a zombie game at halloween, which would need some scenery building and cards making (well, as well as actually playtesting these rules to see whether they actually work at all!)
Otherwise, I'm still wanting to get on with Necromunda, although I'm in a bit of a quandary - I'm reticent to start building models until I've built a gang roster, but don't want to build a gang roster without knowing what's good or that I like to play with... I could just build the models in their stock poses (which are lovely, don't get me wrong), but shouldn't I choose their loadouts myself? Argh, such conflict...
I also starting playing the Game of Thrones: Conquest game whilst waiting for the laptop to fire up tonight, which I'd assumed would give me a hankering for that project, but the game is so buggy (oh how it crashes) that hasn't kicked in at all...
Lord knows when I'll meed a Mind Flayer in studded armour, but when that day does come I will be ready.
His flesh was one of those times when you finish painting happy with what you've done, then come back to it the next time and decide it needs more done to it over and over, hence quite a stark difference between the darkest shade in the deepest recesses and the lightest areas. His weaponry was painted in non-standard colours after being inspired by a flick through the 4th Edition Monster Manual (hence the aqua/teal hilt to the purple-sheened blade, and grey rather than colourful gems on the scabbard of his secondary weapon).
I also had a play posing him with some of my wife's plants (more and more of which seem to appear in the house each week):
As well as playing with the settings and applying filters to make moody pictures like this:
Tally:
7 vs 0 = +7
In other news, a family emergency last week led to us heading down to Portsmouth a week earlier then originally planned - horrible times, but one upside to spending four hours each way on trains was that I cracked on and managed to mostly get the set of zombie rules that I've had knocking around half-formed in my head longer than I've had this blog that have been previously alluded to on paper:
Don't worry about trying to decipher my scrawl about rules for fighting across barricades, the picture is just illustrative to break up blocks of text ;)
It's in no particular order currently, fairly free-form as I remembered / thought of things, but I think I've got a fairly workable framework once I rearrange it and chisel out the heart. I have a vague thought to run a zombie game at halloween, which would need some scenery building and cards making (well, as well as actually playtesting these rules to see whether they actually work at all!)
Otherwise, I'm still wanting to get on with Necromunda, although I'm in a bit of a quandary - I'm reticent to start building models until I've built a gang roster, but don't want to build a gang roster without knowing what's good or that I like to play with... I could just build the models in their stock poses (which are lovely, don't get me wrong), but shouldn't I choose their loadouts myself? Argh, such conflict...
I also starting playing the Game of Thrones: Conquest game whilst waiting for the laptop to fire up tonight, which I'd assumed would give me a hankering for that project, but the game is so buggy (oh how it crashes) that hasn't kicked in at all...
Labels:
conversion,
crooked dice,
dnd,
fantasy,
gw,
hasslefree,
painted,
tally
Thursday, 15 February 2018
Cut off one head, and two more adorable ones will grow in it's place...
Whilst finishing off the Flameskull from the previous post, I also started a couple of other miniatures that have been sat undercoated for far too long, and managed to finish this baby hydra:
One of many of a number of rather lovely Mage Knight sculpts, potentially from one of the Dungeon sets. He's old Mage Knight (and lord knows how long ago I cleaned him up) so awkward mould lines are a bit of an issue, but I quite like it flaws and all.
Here he is menacing a Lannister Foot Knight that whilst digging out I discovered one of the aforementioned drawers of finished miniatures that I had forgotten were there:
And here's an aerial view so that you can see that yes, some of the heads are a little cross-eyed!
Tally:
6 vs 0 = +6
The plan at present is to finish off a couple more miniatures in the queue to make space for some figures from the Necromunda Boxed Game. Part of me wants to make some more terrain though, considering the piles of interestingly shaped pieces of plastic and polystyrene I've been hoarding over the last couple of months...
Monday, 12 February 2018
You won't believe how long this took...
So, after a period of low painting mojo (aided and abetted by .hack on the PS4, Super Bowl etc), i knocked off another miniature that had been sat half-finished in the painting queue for six years or so:
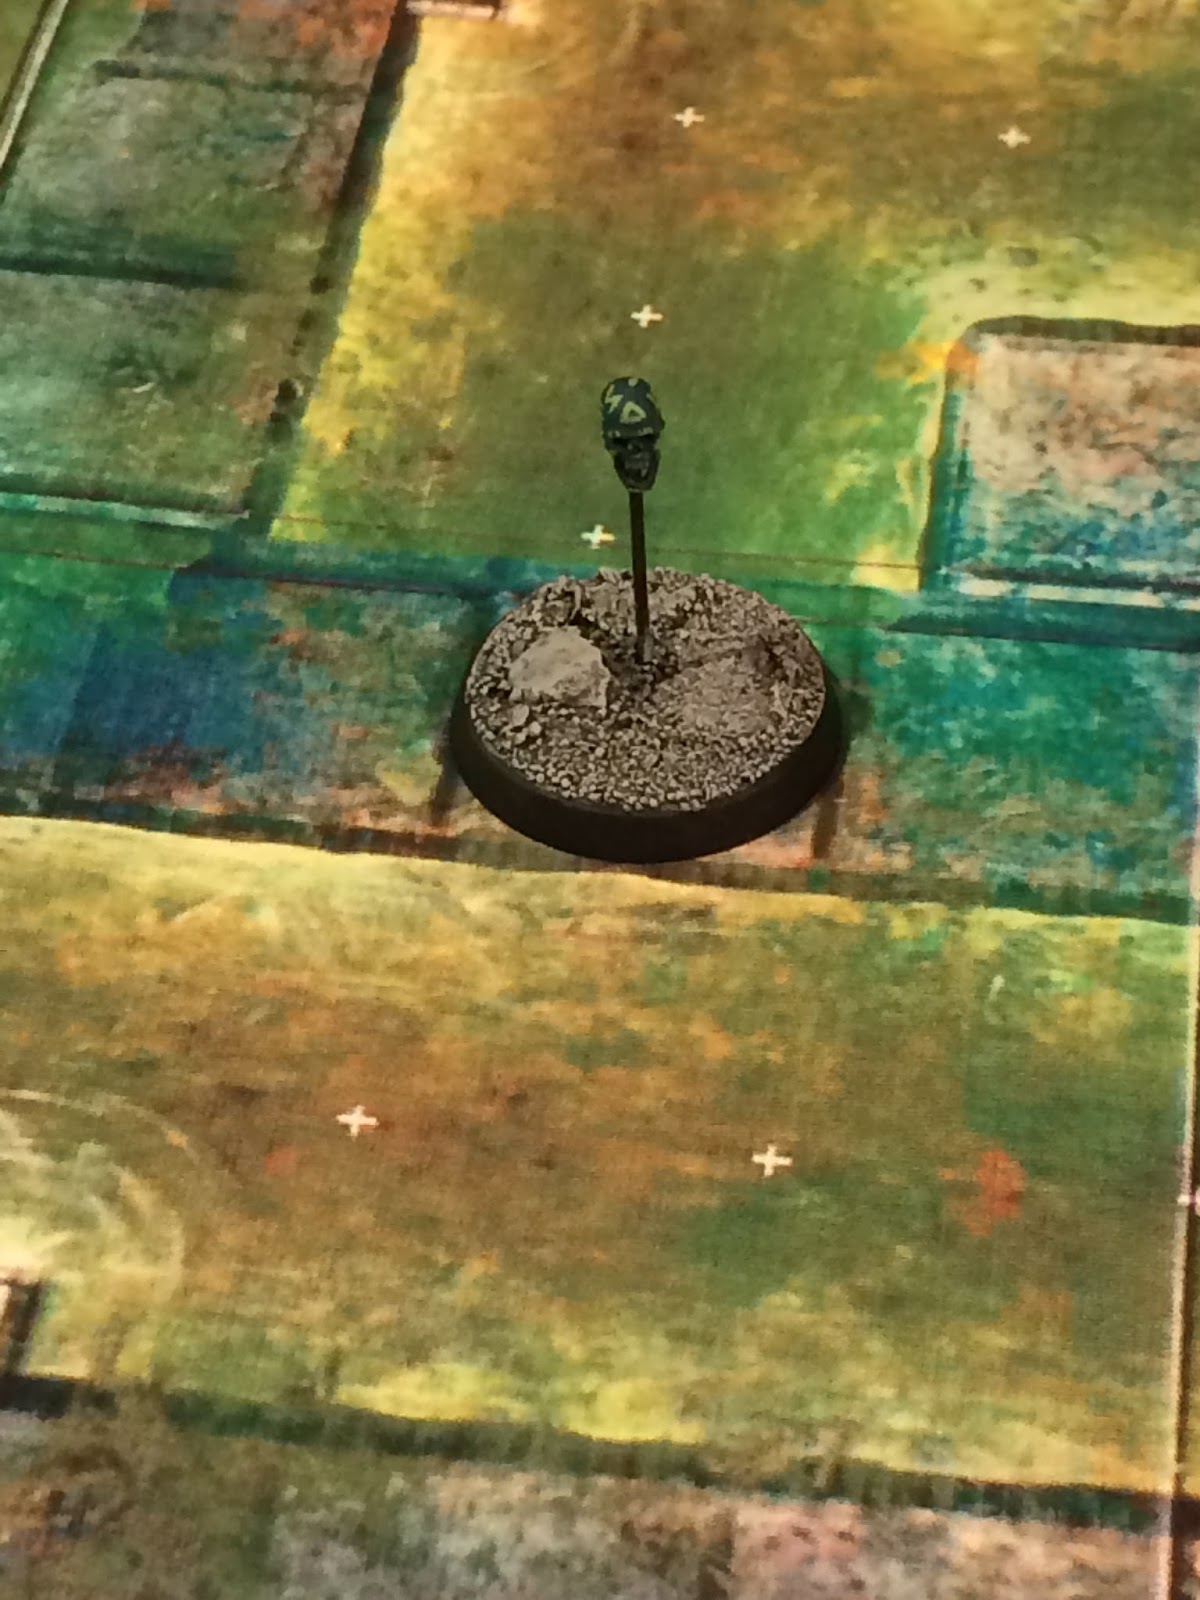
Yup, it's a flameskull:
In the 4th Edition era of Dungeons and Dragons, at one point I considered painting up a miniature for every entry in the Monster Manual. So, for the Flameskull, I grabbed a spare skull from a GW Skeleton Warriors sprue, pinned it to a base, basecoated it green, and then carefully stored it away in a drawer for more than half a decade. I think it moved house like that at least twice.
So, finally freeing it from it's hellish limbo, I popped on some mystic symbols in lurid shades of green and called it done:
I mean, it took so long that in the interim Games Workshop actually released a kit containing flaming skulls, which probably would have worked better for representing a FLAMEskull...
He's so tiny, it's hard to get a decent picture. Here he is posed on a sewer tile:
And with a Heroquest wizard for scale:
Finished is finished, regardless of size though, which takes the Tally to:
5 vs 0 = +5
Sunday, 28 January 2018
Rubble and Scatter Terrain - Part 3 - Finished!
Christmas passed, I knocked off a few miniatures here and there, and then decided to get down to business and finish this terrain (as it had been sat forlornly on a box lid in the corner of the basement ever since getting undercoated).
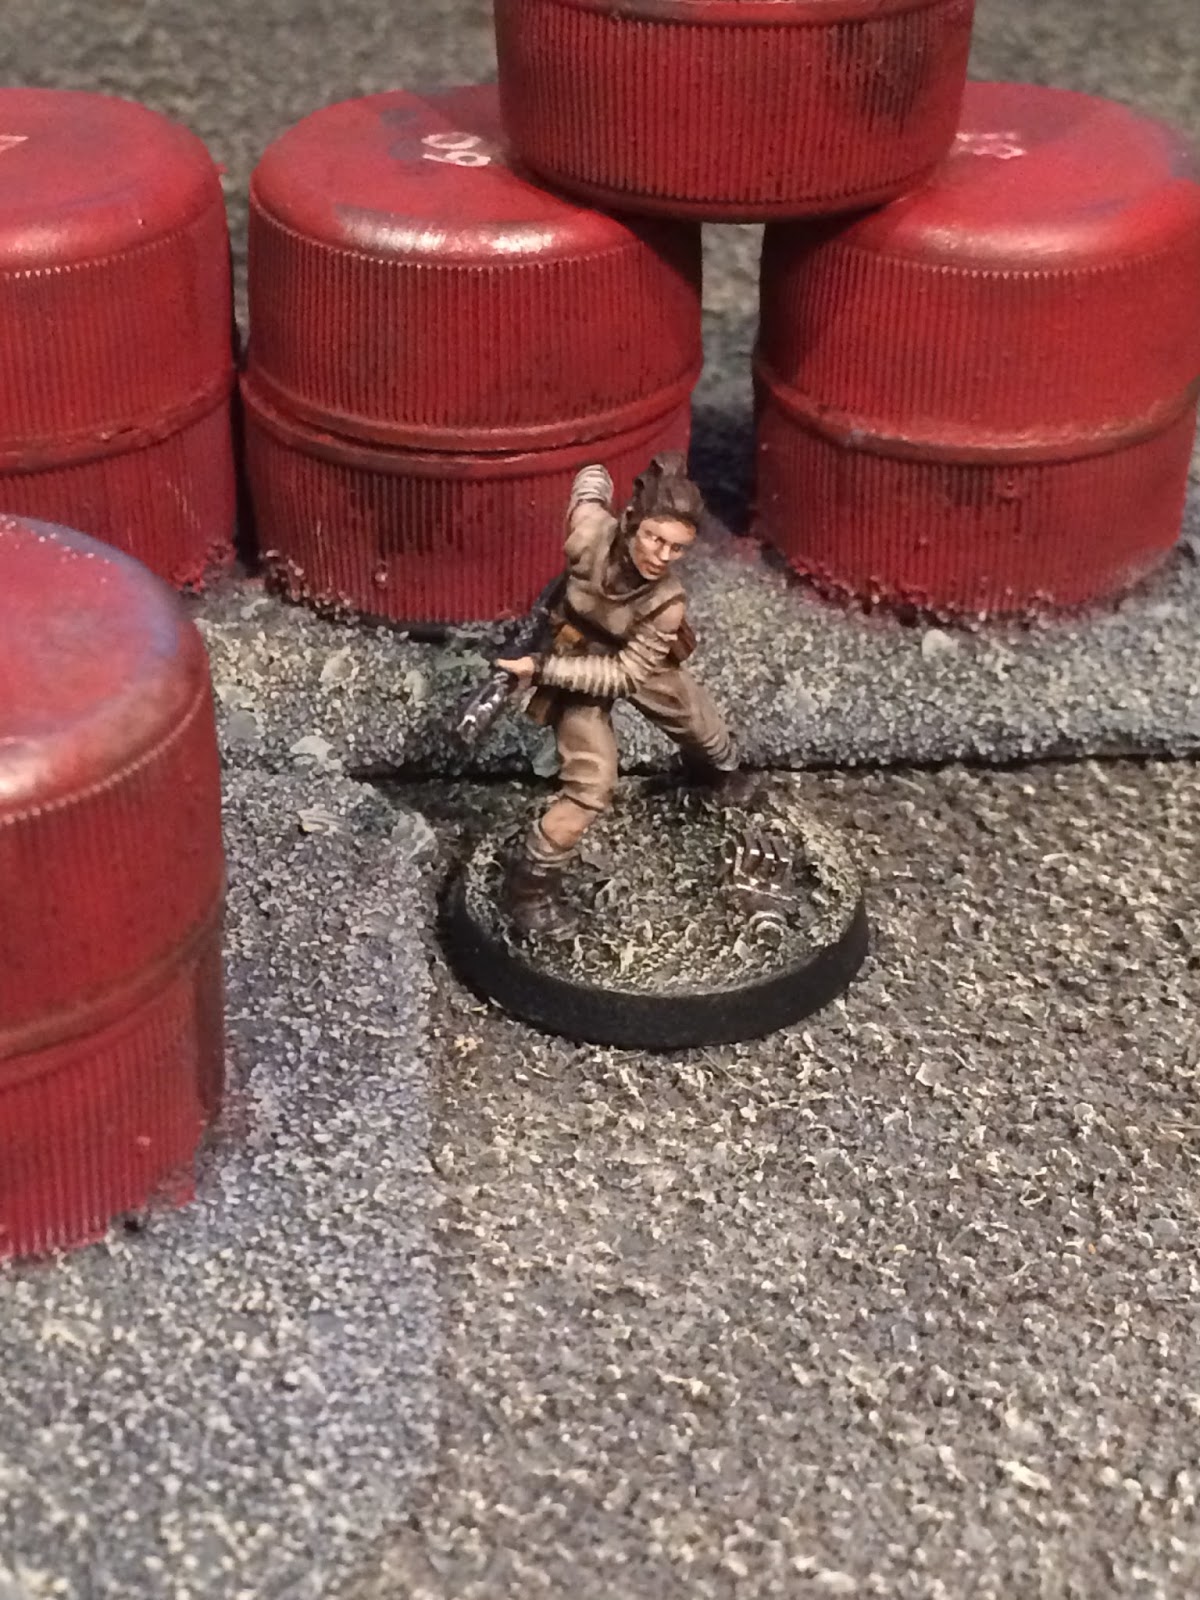
I started out by basecoating the barrels red, a step so mundane that I apparently didn't even think to take a picture of it, and then decided that the barrels needed some markings. Having a dig through my supplies, I settled on using some of the old Imperial Guard numeral transfers:
However to make them look less recognisable (and give a wider variety of numbers) I decided to cut them down into two digit numbers:
And so on they went (in this example, onto a set of barrels that I'd already started weathering before I decided that I was going to add transfers):
Using these probably quintuples the amount of waterslide transfers that I've ever used? Unfortunately, when I went to paint around the edges of the transfers to blend them in, I discovered that they mostly weren't actually very well stuck down. Whether this was due to the age of the transfers, me not being patient enough when applying, or some other factor, I don't know, but this needed fixing!
I painted some on with an old brush, and let it set for a while before dabbing away the excess with a clean piece of kitchen towel, before going back and reapplying where necessary, and it seems to have done the trick. Sometimes I got a bit carried away and the transfer started floating away, but I was able to nudge them back into position with the brush and then dab them down to affix them.
Health & Safety reminder - remember to open a window when working with things like this. I did not, and so was musing about the fact that Micro Set smells like the most delicious salt and vinegar crisps you could possibly imagine, before realising that that might not actually be the case, I'd just been inhaling the fumes for too long.
Then it was just a case of weathering (using blister sponge and some grotty brushes), washing everything with Vallejo Smoke, and then drybrushing the rubble with the same paints that I use for painting bases.
I tried to make the bucket look like it had some dirty water in the bottom. I started out by dripping in a little PVA, mixed with some Typhus Corrosion (as I had it out already to add some streaks to some of the metal painted pieces). For the effect that I had in my head, Vallejo Smoke might have been a better choice, although as it took the PVA two days to dry, by which point there was almost nothing left in the bucket (bar a tide mark left by the Typhus Corrorsion) I don't know how much difference that would have made! Rather than continuing like this (which could have ended up taking weeks to get the bucket to look half-full) I settled for a shallower fill on the bucket, pouring in a little 'Ardcoat to make it look shiny and wet.
Here are the finished rubble pieces:
And now here are a number of posed pictures with various miniatures testing how multi-use this terrain set is...
I started out by basecoating the barrels red, a step so mundane that I apparently didn't even think to take a picture of it, and then decided that the barrels needed some markings. Having a dig through my supplies, I settled on using some of the old Imperial Guard numeral transfers:
However to make them look less recognisable (and give a wider variety of numbers) I decided to cut them down into two digit numbers:
And so on they went (in this example, onto a set of barrels that I'd already started weathering before I decided that I was going to add transfers):
Using these probably quintuples the amount of waterslide transfers that I've ever used? Unfortunately, when I went to paint around the edges of the transfers to blend them in, I discovered that they mostly weren't actually very well stuck down. Whether this was due to the age of the transfers, me not being patient enough when applying, or some other factor, I don't know, but this needed fixing!
I remembered Uncle Johnny telling me a while ago about the miracle of Micro sol and set for applying transfers; wondering whether it would work to help set the already applied transfers, he was kind enough to bring some round when he brought presents round after Christmas.
I painted some on with an old brush, and let it set for a while before dabbing away the excess with a clean piece of kitchen towel, before going back and reapplying where necessary, and it seems to have done the trick. Sometimes I got a bit carried away and the transfer started floating away, but I was able to nudge them back into position with the brush and then dab them down to affix them.
Health & Safety reminder - remember to open a window when working with things like this. I did not, and so was musing about the fact that Micro Set smells like the most delicious salt and vinegar crisps you could possibly imagine, before realising that that might not actually be the case, I'd just been inhaling the fumes for too long.
Then it was just a case of weathering (using blister sponge and some grotty brushes), washing everything with Vallejo Smoke, and then drybrushing the rubble with the same paints that I use for painting bases.
Note to self - seal cork better, or drybrush gentler. An additional step involved spending an amount of time going back over each piece fixing any spots where the bare cork had been exposed by my overzealous brushing...
And lo, the finished barrels:
I tried to make the bucket look like it had some dirty water in the bottom. I started out by dripping in a little PVA, mixed with some Typhus Corrosion (as I had it out already to add some streaks to some of the metal painted pieces). For the effect that I had in my head, Vallejo Smoke might have been a better choice, although as it took the PVA two days to dry, by which point there was almost nothing left in the bucket (bar a tide mark left by the Typhus Corrorsion) I don't know how much difference that would have made! Rather than continuing like this (which could have ended up taking weeks to get the bucket to look half-full) I settled for a shallower fill on the bucket, pouring in a little 'Ardcoat to make it look shiny and wet.
Here are the finished rubble pieces:
And now here are a number of posed pictures with various miniatures testing how multi-use this terrain set is...
Nothing off of the Tally for finishing these, but I do get to strike another item on the Challenge list:
2018 Challenge:
- Finish something years old
- Finish something pre-blog old
- Finish a piece of terrain
- Paint something from the stripping pot
- Prep all of the monkeys in the monkey box
- Build a wargames board
- Paint all of the miniatures in a boxed game
- Open Star Wars Imperial Assault and paint all the miniatures from it
- Paint all the miniatures needed to replace the tokens in the Imperial Assault Core Game
- Paint a complete box of miniatures (either a full regiment or starter)
- Finish a complete skirmish force for a project (at least 16 miniatures, unless it's for a much smaller scale game like Batman)
- Repaint something (either a miniature that I have previously painted, or one that was received painted)
- Convert a miniature and show WIP pics
- Finish a member of the Nextwave team
- Average at least a miniature a week by the end of the year (so, paint 52 miniatures)
- End the year with the Tally in the positive!
What next? I've got the majority of the scenery from the recent Necromunda rerelease cleaned up on my desk and awaiting spraying; I could start some of those terrain pieces that I was tempted to now that I've finished these; I've even attached the Wildlings that were converted around the same time as this terrain was started to bases (although they might get pushed back until I can get some more female miniatures - there;s a rather nice Frostgrave Barbarian Tracker that I like the look of, as well as the recently announced female soldier sprue...); - most likely though, I'll pick at a few odd, unrelated miniatures from the queue, until I've made space for the Goliath and Escher gangs from the new Necromunda...
Subscribe to:
Posts (Atom)