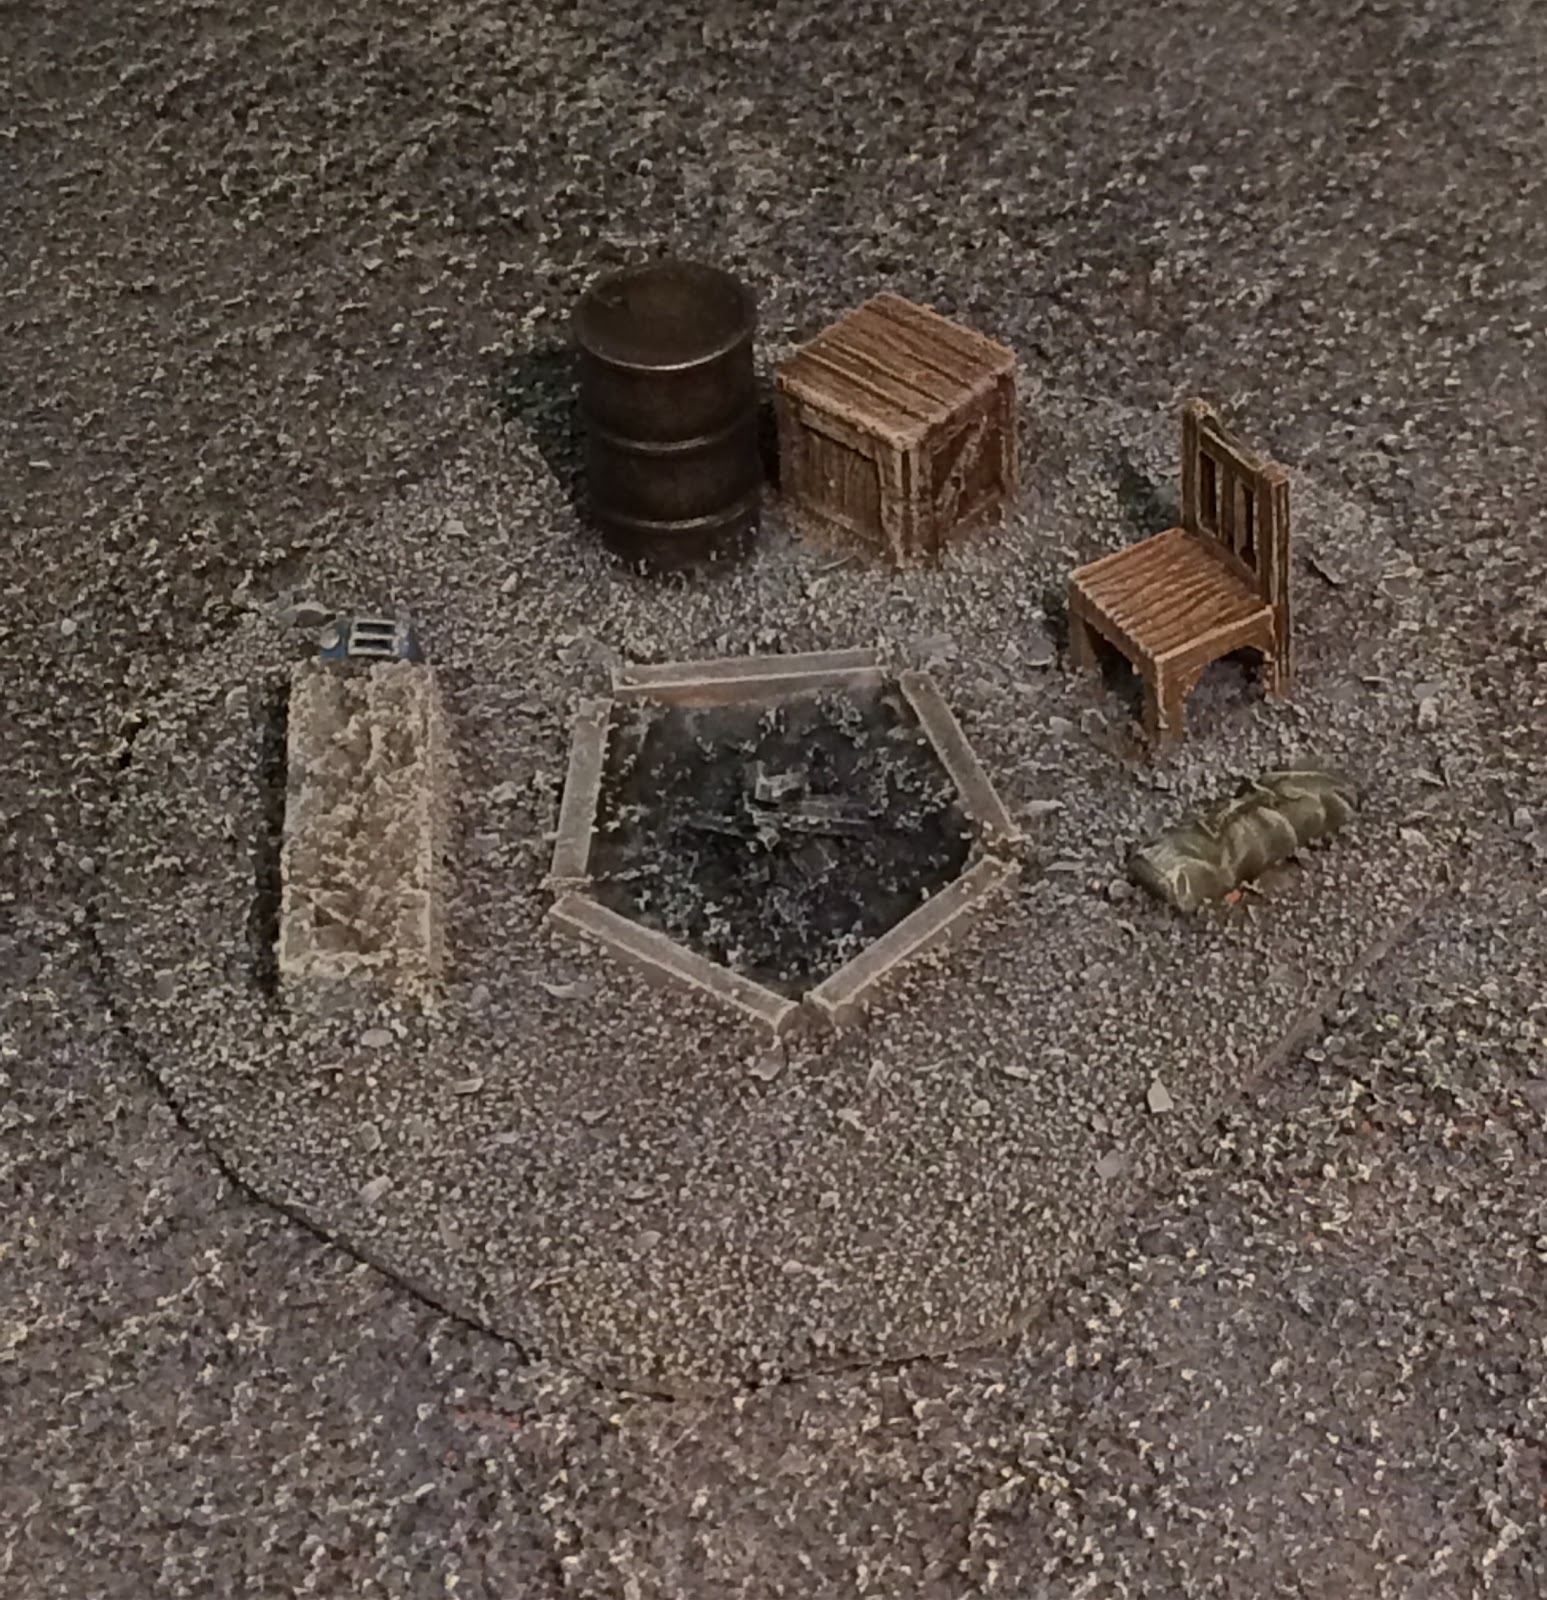
As previously mentioned, the third bit of terrain was pretty quick to paint - in fact, writing this blog post has taken longer than finishing the painting, as apparently the Blogger app that I have up until now used for my posts is kaput, and there doesn't seem to be an equivalent available on the app store (so I'm currently borrowing the wife's laptop to type this out on an actual keyboard like some sort of caveman).
Unusual amounts of planning went into this terrain piece:
By which I mean I had a vague idea, shamelessly ripped off from a vague recollection of a similar piece I'd seen over on the LAF that did the same thing, and scribbled an outline onto my base.
Then it was just a case of scavenging suitable pieces from the various stashes, which took way longer than it really should have - I should never move anything, because it always seems that I can remember where something used to be rather than where it is...
Like these tiny chairs, for example (from Frontline wargames, irc, bought waaaaay back when, when we used to have a FLGS in Canterbury) which for the longest time were in a Star Wars shoe box, and took me an entire evening to find (as apparently I'd had a bit of a rearrange when we moved).
One metal chair, some bits of sprue, a little filler, a chunk of cork, a plaster crate (bought on eBay long, long ago, as part of a lot of 'battle damaged crates and barrels' that when they came turned out to just be someone's bubble ridden miscasts in some ridiculously soft plaster, and I've held on to ever since waiting for the right opportunity to use them) and a plastic barrel that came with a Batmobile later we have this:
The basis of one of those Scavenger camps that you often stumble across in Fallout!
I also added a holdall from a 1:48 Tamiya tank accessories sprue that looked like the ones you find in the game, before applying bird sand - this was done at around the same time as the previous terrain piece, hence still having the annoying larger flecks that I plan to sieve out before future uses:
I also added a jerry can from the same Tamiya sprue, before adding a burnt out campfire with cut down pieces of matchstick.
These were initially just glued down with PVA, but I later went back and doused them with thin superglue to set them rock hard. I painted over the campfire area with some textured paint to give a surface that would look burnt with some careful drybrushing.
And then, painting:

I showed one of the guys at work that I know is a Fallout fan the pictures of the finished piece and the first thing he said was 'shouldn't that can be red'? I know, I was thinking that as I was playing Fallout 4 between paint applications (as I found some in-game, which reminded me that they were all red in the game) but at that point I'd already basecoated them blue because I fancied painting them blue, truth be told. I can always make some scatter terrain later with some broken crates and a couple of red cans if need be!
Cue the standard posed shot:
2017 Challenges:
- Finish 5 miniatures from my WIP drawer before starting anything new (0/5)
- Finish 10 miniatures from my WIP drawer before starting anything new (0/10)
- Finish 15 miniatures from my WIP drawer before starting anything new (0/15)
- Finish something years old
- Finish something SUPER old (as in, pre-blog old)
- Finish a piece of terrain x3
- Empty out my stripping pot
- Paint something from the stripping pot
- Prep all of the monkeys in the monkey box
- Build a wargames board
- Paint all of the miniatures in a boxed game
- Open Star Wars Imperial Assault and paint all the miniatures from it
- Paint all the miniatures needed to replace the tokens in the Imperial Assault Core Game
- Paint a complete box of miniatures (either a full regiment or starter)
- Finish a complete skirmish force for a project (at least 16 miniatures, unless it's for a much smaller scale game like Batman)
- Repaint something (either a miniature that I have previously painted, or one that was received painted)
Right, time to clear the desk off and get back to painting some miniatures I think!


What a lovely build, I really like this.
ReplyDeleteSimple and effective. Very nicely done sir.
ReplyDelete